Setting up delivery zones and fees
In Breadstack Delivery, delivery zones allow you to customize the delivery fees you charge for different geographical regions. If your store is on WooCommerce or Shopify, you can create delivery zones directly within Breadstack Delivery.

If your store is on Breadstack
Note that you cannot set up or edit delivery zones in Breadstack Delivery. Instead, Breadstack Delivery will import your store's shipping zones directly from Breadstack. Learn more about creating shipping zones in Breadstack.
To create a new delivery zone, go to Settings > Stores. Click on the store for which you would like to create a zone, then select the Delivery Zone & Fee tab.
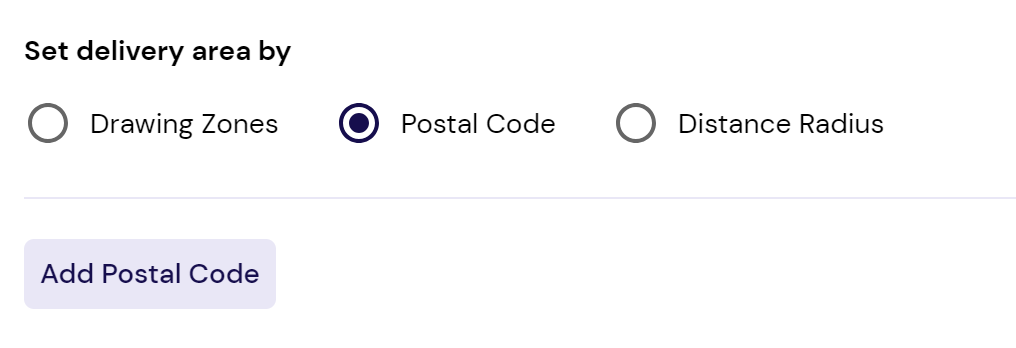
Choose one of the following methods to create the delivery zone:
Drawing zones
This method allows you to define the boundaries of the delivery zone by drawing lines on a map.
- With Drawing Zones selected, click Add Zone. (Your current location will be navigated on the map under the image of a red pin)
- Fill in your zone's basic information:
- Name
- Delivery fee (as either a fixed dollar value or a percentage of the order value)
- Order minimum to qualify for delivery (optional)
- On the map popup zoom in and out (using your mouse wheel or the zoom buttons) and click and drag the screen until you have a clear view of the zone you want to define.

 If you would prefer a full-screen map view, select the full screen icon in the upper left corner of the map.
 - Select the pen tip icon, then click on the map to activate the pen. Move your mouse to create lines, clicking click to change direction.Continue drawing until you have fully boxed in your delivery zone, then click the hand icon to release the pen.
During the outline of your desired delivery zone, you can Undo, Redo or Reset the action.
Undo: Allows you to revert your drawn zone to the previous state. Access it by either clicking Undo or using the keyboard shortcut of Ctrl + Z (Windows users) or Command + Z (Mac users)
Redo: Allows you to revert forward into the later state. Access it by clicking Redo or using the keyboard Ctrl-Shift-Z or Ctrl + Y in Windows (or Command-Shift-Z in Mac). Reset: Allows you to erase all the outline that have been done previously.
- Click Save. Your new zone will appear. To enable or disable the zone, adjust the toggle.
Postal code
- With Postal Code selected, click Add Postal Code.
- Enter your zone's postal code, along with the following:
- Delivery fee (as either a fixed dollar value or a percentage of the order value)
- Order minimum to qualify for delivery (optional)
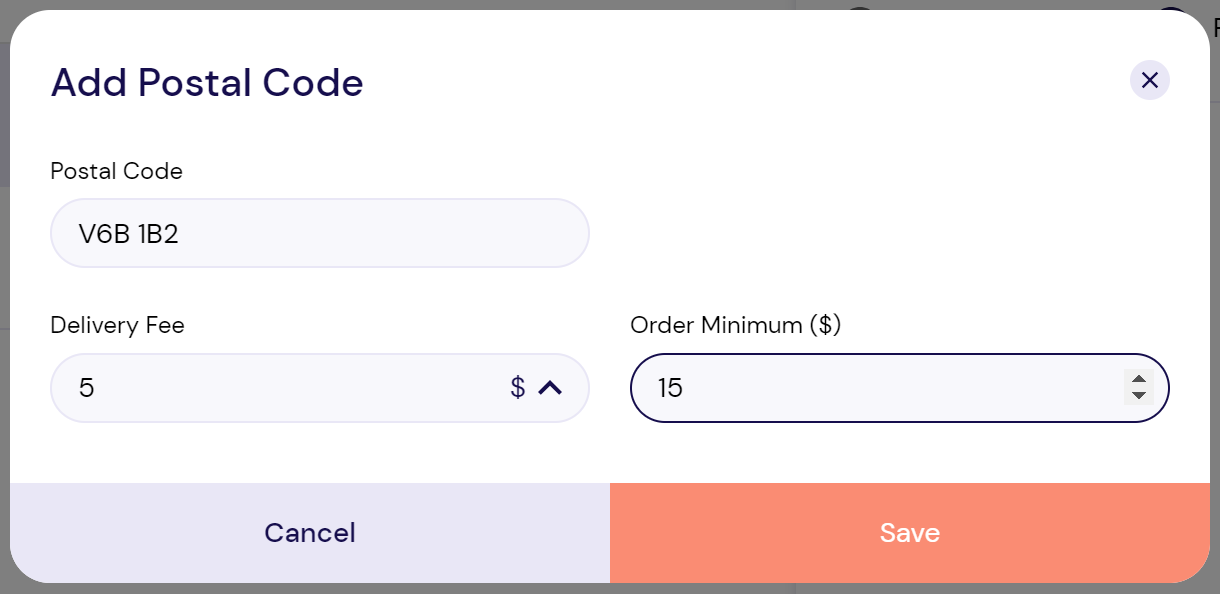
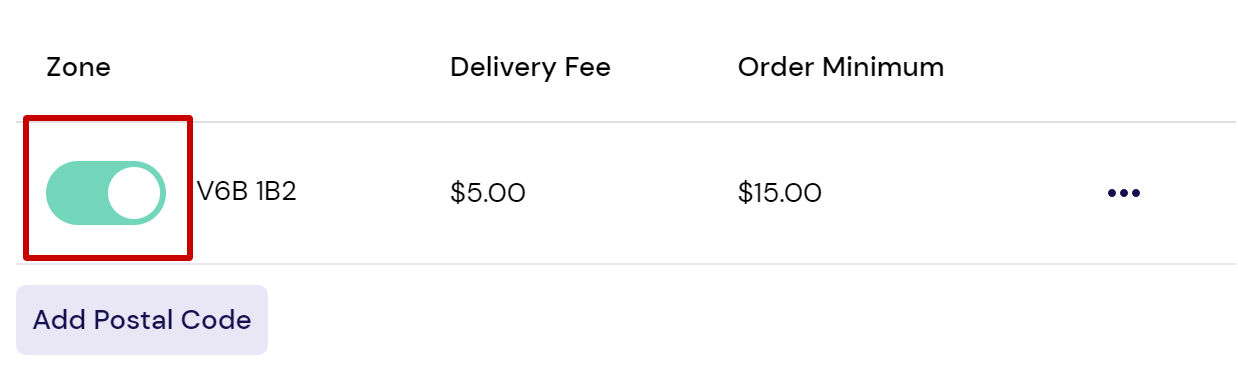
- Click Save. To enable or disable the zone, adjust the toggle.
Distance radius
- With Distance Radius selected, fill in:
- Max Delivery Distance (in km or miles)
- Delivery Fee
- Order Minimum to qualify for delivery (optional
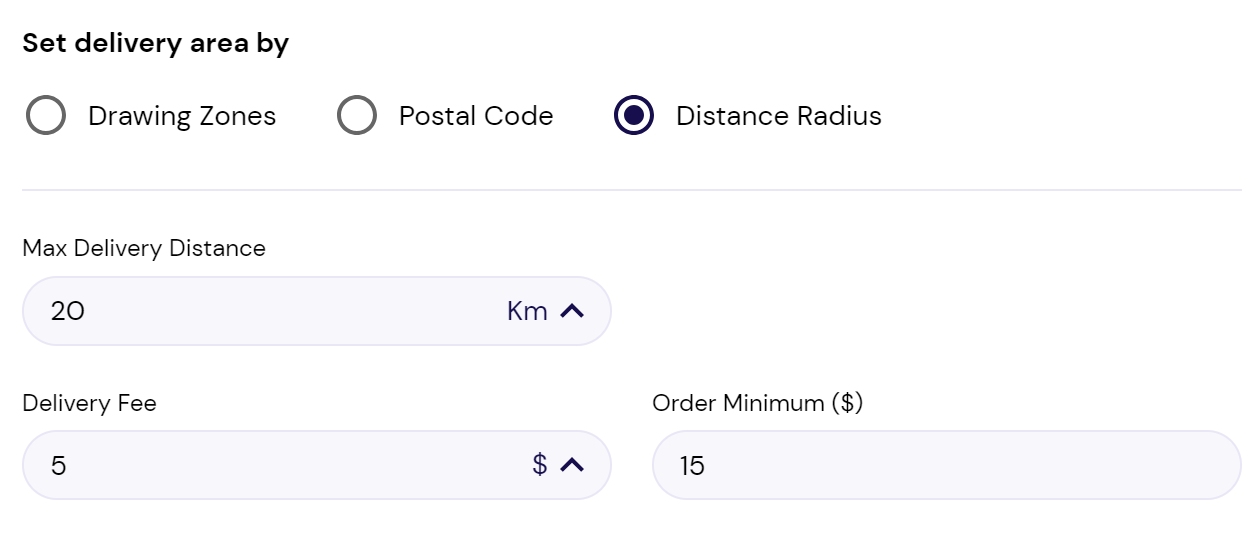
- Click Save changes. The values you entered will remain in place until you edit them.
Related Articles
Setting delivery hours and windows
On Breadstack Delivery, you can customize the delivery times based on your store’s hours of operation. This feature allows you to set up flexible delivery time slots for customers, enabling them to choose a specific time for delivery or have orders ...How to duplicate or delete your delivery zones
You can duplicate a pre-existing zone in your zone record using the option Duplicate. This enables you to have the same zone but with a slight difference in configuration. To duplicate the zone: Access Settings > Stores > Delivery zones and Fee. ...Setting up the details of your driver
The Driver tab in the Settings module is the centralised area for you to have an overview of information about your drivers. You can see the drivers personal details as well as setting up the working hours that your drivers are available. In order to ...Tracking the status of a task
In Breadstack Delivery, a "task" is a delivery job. If your store's ecommerce platform is integrated with Breadstack Delivery, new tasks will appear whenever payment is processed for an order. Alternatively, you can create tasks manually in ...Changing a delivery time
To change the delivery time on an active task, pull up the task list and locate the task that you would like to edit. Expand the task information by clicking on the task: Select the icon with three dots and then "Edit Task": Scroll down to the ...