Setting up the details of your driver
The Driver tab in the Settings module is the centralised area for you to have an overview of information about your drivers. You can see the drivers personal details as well as setting up the working hours that your drivers are available.
In order to view your drivers information, you will need to click on a driver to open the Driver detail panel, and use the top ribbon to navigate through different sections of driver information.
Profile
Here, you can edit your driver’s Name, Display Name, Address and Email Address.
Under Customer Support Options, you can choose if and how customers can contact this driver directly regarding deliveries. The options are:
- Customers can only contact the driver’s phone number - This is the same phone number they use to access the Breadstack Delivery Driver App
- Customers can contact an alternative phone number - If you select this option, you will have the chance to enter a phone number
- No contact allowed - Customers will not have a means of contacting this driver directly
Vehicle
The Vehicle tab will contain details about your driver’s vehicle here. 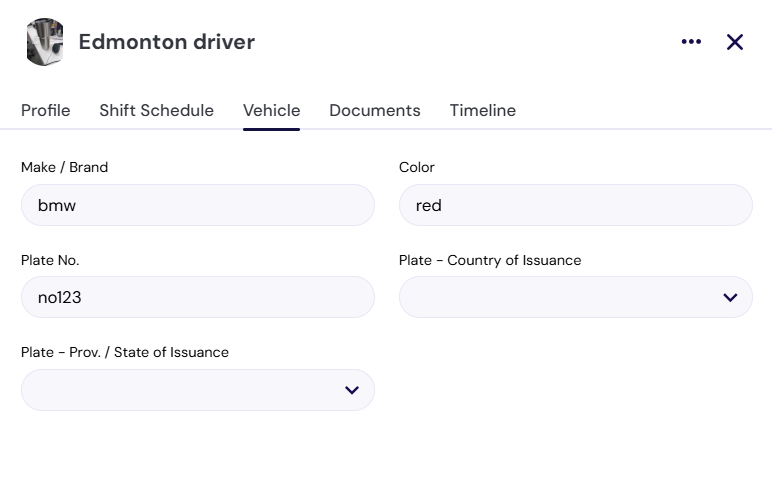
Documents
Upload photos of your driver’s license card here, including front and back, and a photo of him or her with the license. You can also upload your driver’s abstract.
Click Upload under any of the file types to open a document picker, then choose a file from your computer.
Timeline
This section shows a history of Breadstack Delivery actions related to this driver, along with the time they were performed and the name of the admin or dispatcher who performed them.
Shift Schedule
Similar to the action of manually completing a task, each driver within your organisation can have their personal working hours, and this can be adjusted within Settings > Drivers > Shift Schedule. 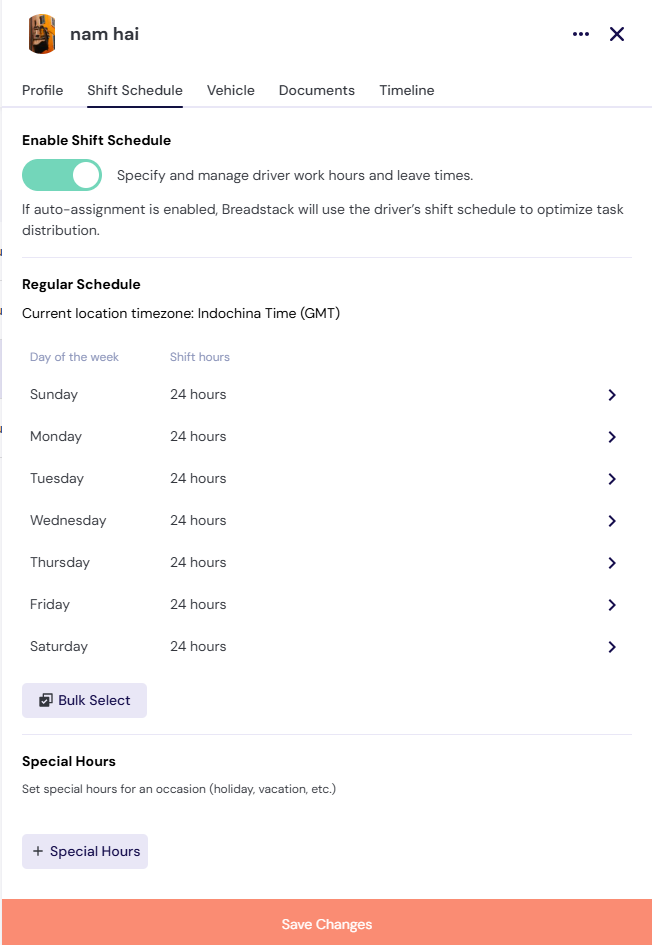
When accessing the Shift Schedule tab, you will have 3 main areas for adjustment:
- Enable Shift Schedule: The ability to enable the auto-assignment feature of Breadstack Delivery to allocate orders accordingly that align with the driver’s working/leave time.
- Regular Schedule: Once the Enable Shift Schedule is on, you will get to adjust the specific working hours per day.
- For the Regular Schedule, you can either set different working times for each day. The action can be done individually per day or bulk select for multiple days at the same time.
- In addition, you do have the option to set the time range to be 24 hours - that means you are open to receive order no matter the time slot of the day. For time ranges that are not 24 hours, you can set different start and end time along with the break time in between through the feature Pause auto-assignment.
- On top of that is the ability to create multiple time slots (for example: 9:00 AM - 11:00 AM then 6:00 PM - 9:00 PM).
- Special Hours: These are the settings for hours that are operated on special days/holidays. The settings will be similar to the settings of regular hours, but with the addition of having the settings to be available within a set number of days.
Related Articles
Setting up the CanFleet Driver App
Before setting up the CanFleet Driver App, you'll need an SMS invitation from your store's admin. This message will include a temporary password and a link to download the app from Google Play. Currently, CanFleet Driver App only support Android 7 ...Updating a driver's profile
Managing drivers includes making sure you have accurate contact information and up-to-date details on their vehicle and license. Only users with admin access can edit drivers' profiles. To update your driver's information: Go to Settings > Drivers ...Adding a driver
Before you can start managing delivery tasks in Breadstack Delivery, you'll need to add at least one driver. Here's how to generate an SMS invitation that will prompt your driver to download the CanFleet Driver App. Once they've completed setup, you ...Creating a driver team
In Breadstack Delivery, you can group your organization's drivers into teams, then assign each team to one or more stores. You must add drivers individually before grouping them into teams. Why create a driver team? You aren't required to organize ...Using the CanFleet Driver App
Once you've set up the CanFleet Driver App, you can start completing tasks as your dispatcher assigns them to you. This article will cover the basics of handling tasks and managing your settings in the app. Completing a pickup task In your To-do ...