Assigning a task to a driver
Assigning a task to a driver is a critical step in ensuring that it's fulfilled. This article will explain how to manually assign a task from either the Live Tracking screen or the Task List screen.

If you'd prefer to automate task assignment, turn on Breadstack Delivery's AI-powered auto-assignment feature.
From the Live Tracking screen
- If your workspace has unassigned tasks, you'll see a red dot on the Tasks toggle of the Live Monitoring panel.
- Open the panel and view unassigned tasks at the top of the list. (If you're looking for a specific task, you can search for it by entering its ID or address information in the search bar.)
- To assign a single task, click on it. This will open the task detail panel. Click Assign to open a list of drivers to choose from.
- To assign multiple tasks to the same driver, hold down Control or Command and click each task. This will open a list of drivers to choose from.
- When you've chosen a driver, click Assign to confirm your selection. Once assigned, the task will take on Pickup status (if it is a pickup and delivery task) or Delivery status (if is a delivery-only task).
Your driver will receive a notification in the CanFleet Driver App. They must confirm receipt of the task; then it will be added to their route.
You can track the progress of the task, reassign it if needed, and set its position in the driver's route.
From the Task List
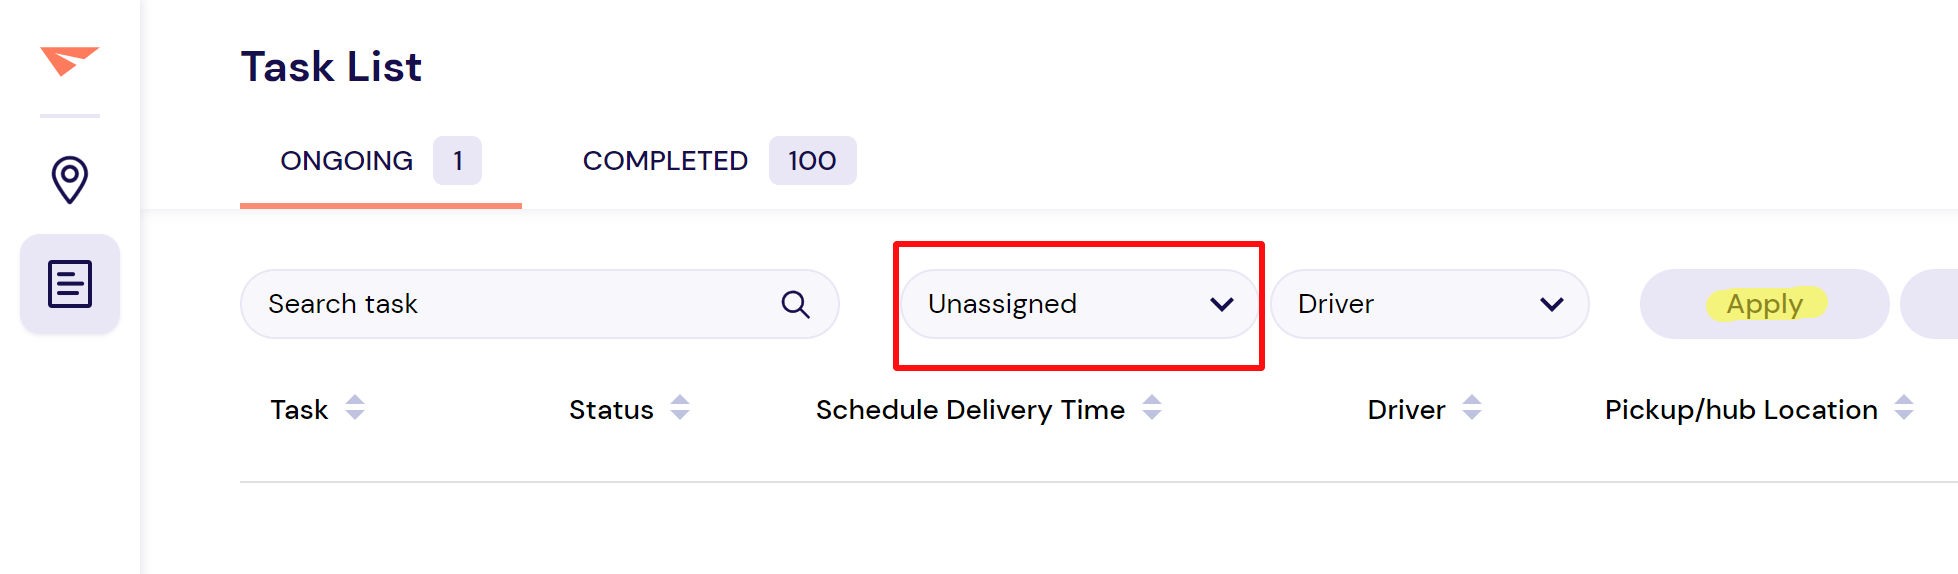
- Go to the Task List, change the Status filter dropdown to Unassigned, and click Apply.
- Select an unassigned task. In the task information panel, click Assign.
- You'll see a list of your drivers. If you have set up teams, you can view each team separately.
Select a driver or search by name. - Click Assign. The task will now take on Pickup status (if it is a pickup and delivery task) or Delivery status (if is a delivery-only task).
Your driver will receive a notification in the CanFleet Driver App. They must confirm receipt of the task; then it will be added to their route. When driver receive a task they will/will not receive the request to confirm task prior to pickup/drop-off if the dispatcher request them to (request signature when delivery or scan barcode when pickup, etc…) - You can track the progress of the task, reassign it if needed, and set its position in the driver's route.
Related Articles
Creating a driver team
In Breadstack Delivery, you can group your organization's drivers into teams, then assign each team to one or more stores. You must add drivers individually before grouping them into teams. Why create a driver team? You aren't required to organize ...Reassigning a task
You can reassign a task to a different driver at any point before it's completed. Go to the Task List and click on the task you want to reassign. In the task information panel, click Reassign Task. Choose a new driver using the search bar or team ...Adding a driver
Before you can start managing delivery tasks in Breadstack Delivery, you'll need to add at least one driver. Here's how to generate an SMS invitation that will prompt your driver to download the CanFleet Driver App. Once they've completed setup, you ...Creating a new task manually
If your store is integrated with an ecommerce platform, your delivery tasks will automatically flow to Breadstack Delivery. However, there are likely to be cases when you need to create a task manually. Here's how to set up a delivery task in ...Turning task auto-assignment on or off
Breadstack Delivery's auto-assignment function distributes incoming tasks to your drivers. Turning this function on helps you maximize efficiency by ensuring tasks are immediately assigned. Auto-assignments also take into account each driver's ...