Creating a new task manually
If your store is integrated with an ecommerce platform, your delivery tasks will automatically flow to Breadstack Delivery. However, there are likely to be cases when you need to create a task manually.
Here's how to set up a delivery task in Breadstack Delivery.

If you regularly use certain pickup or dropoff locations, save them to your Address Book so you can populate them quickly for future tasks.
- Go to the Task List screen and select Create New Task in the upper right corner.
- If the task should include a pickup prior to a drop-off, enable the Include Pickup Task toggle. Then:
- Under Pickup Info, fill in address and contact details for the pickup location.
- If you anticipate regularly using this pickup address, check Save this contact in address book.
- Under Pickup Info, fill in address and contact details for the pickup location.
- Under Delivery Info, fill in the recipient's address and contact details. Then:
- If you anticipate regularly using this delivery address, check Save this contact in address book.
- If the delivery should be contactless, check the box This is a contactless delivery. This will enable the driver to complete the delivery task without collecting a signature.
- If desired, specify a Delivery Time Window for this task.
- Leave a Task Note if there are any special instructions for this delivery.
For tasks that you need drivers to have proof when delivery (scan barcode, take picture of the parcel, take signature) click the box “Require drivers to scan barcode or capture an image of the package upon delivery”.
- Click Next.
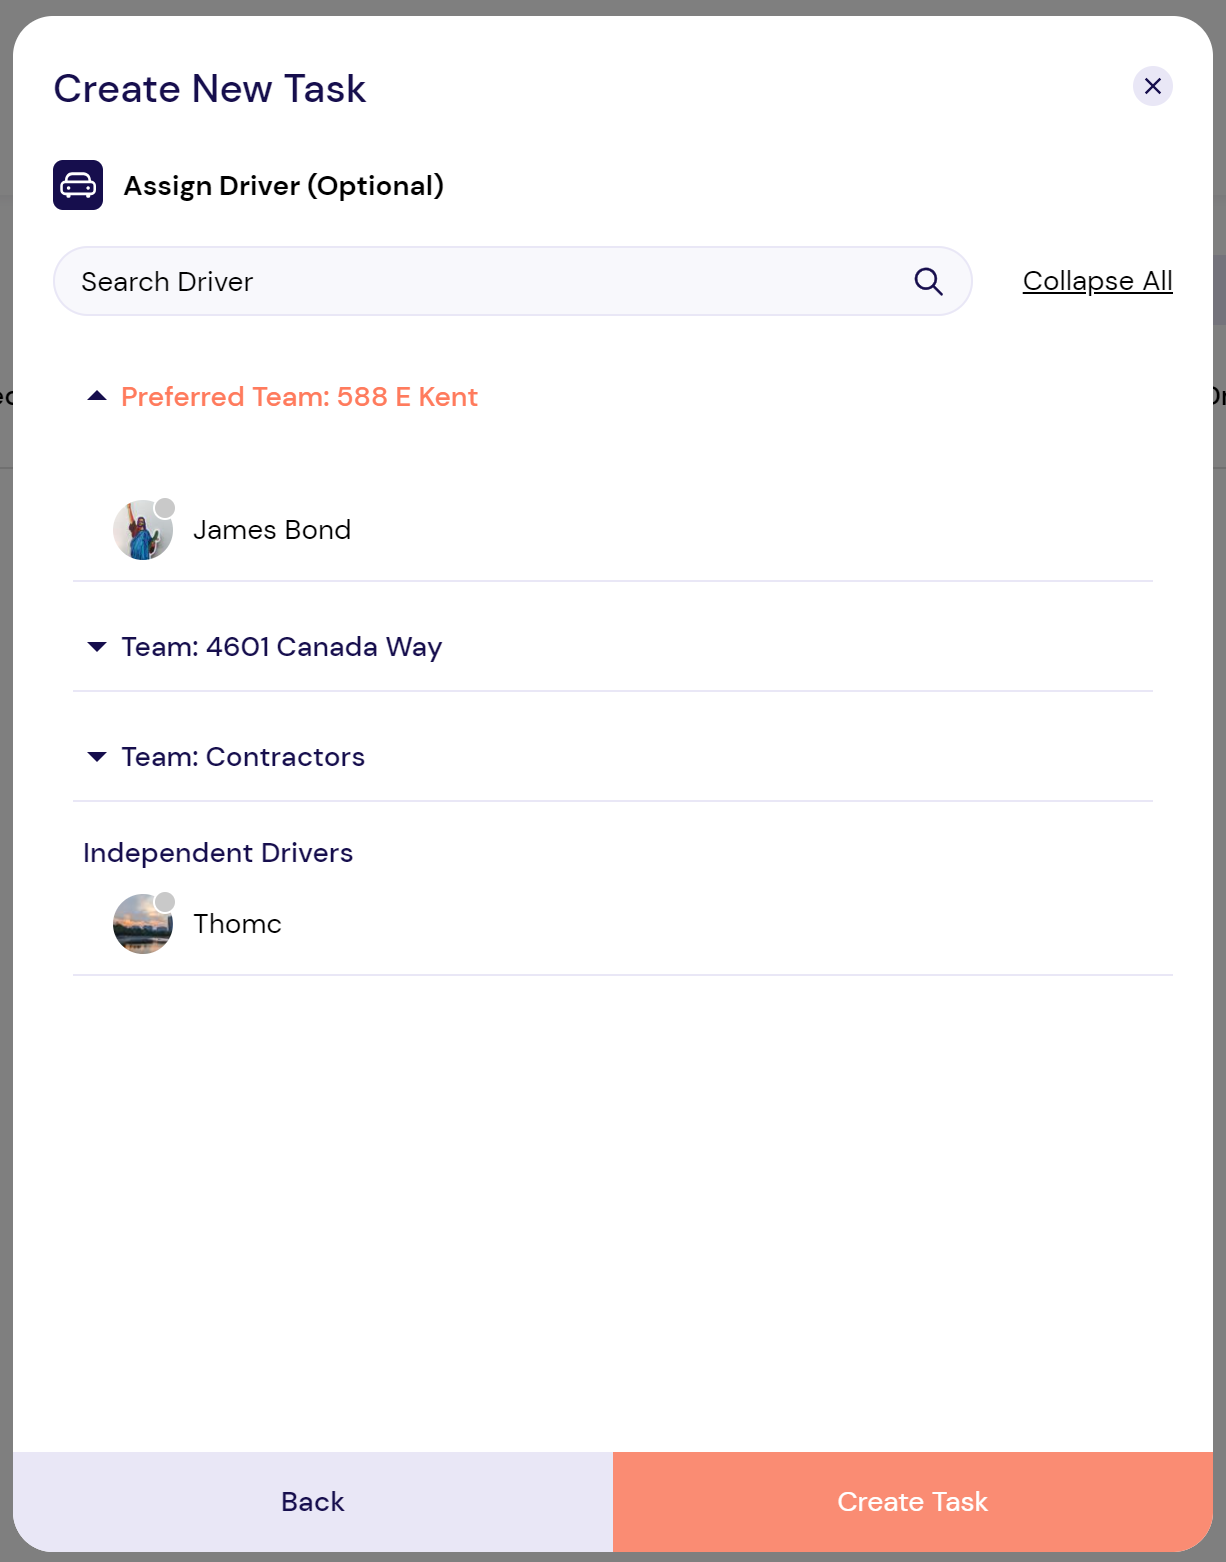
- Choose a driver to assign the task. Either select a driver from one of your store's teams, or search for a driver by name.
If you don't want to assign a driver yet, you can skip this step. The task will appear as Unassigned, and you can assign it later.
- Click Create Task. You'll see a confirmation popup, and your task will appear in the Task List. From there, you can you can track, cancel, or reassign it.

Related Articles
Adding a new user
If you're a Breadstack Delivery Admin, you can invite your coworkers to work in your organization. Users can join Breadstack Delivery as Admins or as Dispatchers. . This article is about how to add Admin or Dispatcher users. For instructions on ...Setting up delivery zones and fees
In Breadstack Delivery, delivery zones allow you to customize the delivery fees you charge for different geographical regions. If your store is on WooCommerce or Shopify, you can create delivery zones directly within Breadstack Delivery. If your ...Tracking the status of a task
In Breadstack Delivery, a "task" is a delivery job. If your store's ecommerce platform is integrated with Breadstack Delivery, new tasks will appear whenever payment is processed for an order. Alternatively, you can create tasks manually in ...Completing a task manually
When using Breadstack Delivery, besides the usual task editing option you can also completing a task manually as an admin/dispatcher. For a task that has been completed manually, it will: Record in the Timeline as a log about the admin/dispatcher ...Admin setup guide
Ready to set your organization up in Breadstack Delivery? Once you've created an account and logged in for the first time, you can get fully functional in just a few minutes. How does the Breadstack Delivery ecosystem work? In Breadstack Delivery, ...